How to Measure Your Room for a Built-in Wardrobe (Step by Step)
How to measure a wall for a built-in wardrobe in Singapore: width, height and depth in mm, what to check for (skirting, power points, aircon trunking) and how much clearance to leave.
By The Wardrobe SG Team · Updated 16 October 2026
The short answer
To measure for a built-in wardrobe, measure the wall width at the top, middle and bottom and use the smallest figure, measure floor-to-ceiling height at both ends, and allow about 600mm of depth. Note anything on the wall, such as skirting, power points, switches, windows and aircon trunking, and leave enough space in front for doors and drawers to open. A rough measurement is enough for a quote; the final size is confirmed on site.
Key takeaways
- Measure width at three heights and use the smallest figure.
- Measure ceiling height at both ends, since floors and ceilings are rarely level.
- A standard wardrobe depth is about 600mm.
- Note power points, switches, windows, skirting and aircon trunking.
- Leave clearance for doors to swing or drawers to pull out.
What you need
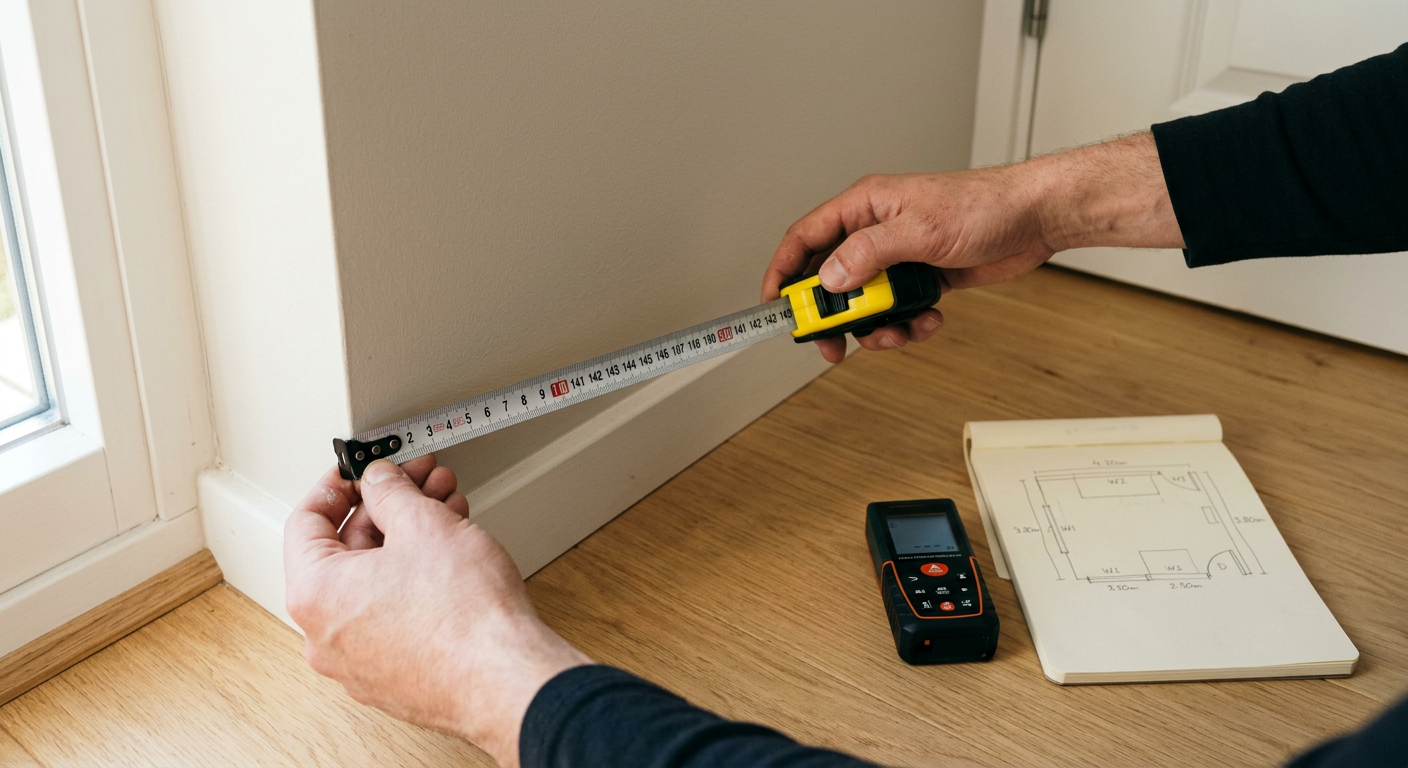
A tape measure (a laser measurer is easier for ceilings), a pencil and paper or your phone camera. Measure in millimetres, since wardrobes are built to the millimetre.
How to measure for a wardrobe, step by step
- Width: measure the wall from corner to corner at the bottom, middle and top. Walls are rarely straight, so use the smallest figure.
- Height: measure floor to ceiling at both ends of the wall. A standard HDB or BTO ceiling is about 2,600mm.
- Depth: check how far the wardrobe can come out from the wall. Most wardrobes are about 600mm deep so hangers fit sideways.
- Obstacles: note the position of power points, switches, windows, beams, skirting and aircon trunking.
- Clearance: measure the space in front of the wall, plus any bed or door that might block the wardrobe doors.
- Photos: take a photo of the whole wall and the ceiling corners to send with your measurements.
| Part | Typical size |
|---|---|
| Depth | About 600mm |
| Floor-to-ceiling height | About 2,600mm (HDB/BTO) |
| Plinth (base) | 100mm |
| Top compartment | 450mm |
| Hinged door panel | 450mm wide |
| Sliding door panel | 850–950mm wide |
Common measuring mistakes
- Measuring only once, at one height.
- Forgetting the skirting board, which pushes the wardrobe forward.
- Ignoring a power point that will end up hidden behind the wardrobe.
- Measuring before the flooring is laid, which changes the height.
Your measurements are for an estimate. We confirm every size on site before production. See our full wardrobe dimensions guide or get a free quote.
Disclaimer: This guide is general information only and is not professional, legal or regulatory advice. Rules and guidelines (HDB, BCA, URA, town councils, condo MCSTs) change and may apply differently to your home, so check current requirements with the relevant authority before starting works. Prices and timelines are indicative; your written quotation is final. Read the full disclaimer.
Frequently asked questions
- How deep should a built-in wardrobe be?
- About 600mm, so clothes hang sideways without touching the doors. Shallower wardrobes from about 450mm are possible with front-facing rails.
- Should I measure before or after renovation?
- Take rough measurements any time for a quote, but the final measurement should be done after flooring and walls are finished.
- Can a wardrobe go over a power point?
- Yes. The point can be cut out in the back panel, or relocated by a licensed electrician before installation.
Ready to plan your wardrobe?
Get a free, no-obligation quote. We measure on-site, custom-build to your space, and handle delivery and installation.